How to make a simple DIY flower press: Handicraft
What’s Inside: A look at how to make a simple wood DIY flower press with kids for handicraft. You’ll also find a handy “1 Page Printable” with everything you need to get started for success.
Project Overview
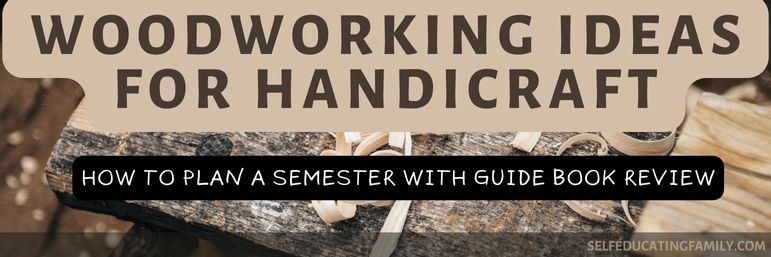
When our homeschool co-op selected woodworking for handicraft, we knew we wanted to learn skills and make useful, beautiful items.
We also were planning on including gardening later in the year, so we decided to make garden-related wood items. There are so many ideas for wood projects!
Today’s post shows you how we made flower presses for our woodworking handicraft in our group of 10+ kids ranging in ages from toddler to teen.
Background
Our Charlotte Mason homeschooling co-op was able to accomplish quite a bit together. We made flower presses the year we did woodworking for group handicraft. Handicraft can work well in groups of kids.
Skills Needed by Adults
We were fortunate to have a few things going for us in our handicraft group that helped quite a bit with woodworking.
First, I have been doing woodworking for more than 30 years and I am familiar with power tools. Second, one of the other dads volunteered to do the cutting for us – a big time saver. And finally, another mom was also familiar with woodworking and tools.
Having someone who knows what they are doing was very important for the success of our project. And of course, being able to convey the safety rules was also a priority.
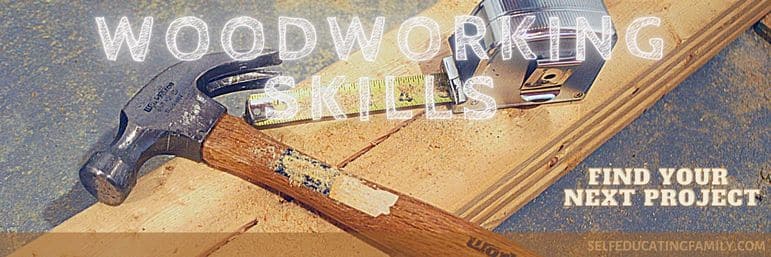
Tools and Materials
Here are the requirements for this project, with commentary…
Tools
- Drill with a 5/32″ bit
- Saw
- Sawhorse
- Clamps
- Sander
- Foam brush/towel for staining or paint brushes for decorating
Materials
- 1″ x 12″ x 4′ red oak boards
- 2 packs 1/4″ x 3″ coarse-thread machine bolts
- 2 packs 1/4″-20 wing nuts
- 8 washers
- Natural wood stain or paints
- Cardboard
- Flowers
Variations
The above list is a good start. We made some changes.
Our group planned on making more than one flower press, so we chose the most affordable option – pine boards. And we ended up using Most of our families decided to make one flower press together, but some of the older kids wanted to make their own in addition.
Our group substituted pine shelving for the red oak boards. Pine is softer than oak, but it’s still fine for a flower press. If you were making an oak bookshelf, you might want to rethink substituting pine, but there are ways to calculate the strength of a span for bookshelves.
Since our little press is relatively small, substituting pine, or any other typical wood board is fine. Plywood would work also, but it’s not as pretty on the edges. What you don’t want is “edge glued boards” which might split at the edges when under the stress of the screws.
Our group also substituted on the width of the boards – we went with the smaller 8”x8” press which we felt was still plenty big enough for a flower press. And I think ours actually ended up slightly off square about 7” x 8” because we just divided the board into equal pieces.
Decorating is completely up to the kids – my guys opted for plain and didn’t even want to stain or shellac it. I’m still planning on someday painting some pretty flowers on it. I even saw a beautiful design where dried flowers and leaves were decoupaged onto the top!
Another nice alternative for decorating is woodburning. If you have done that as handicraft, this is a good opportunity to practice the skill.
Method
Here’s the basic way to make a DIY flower press:
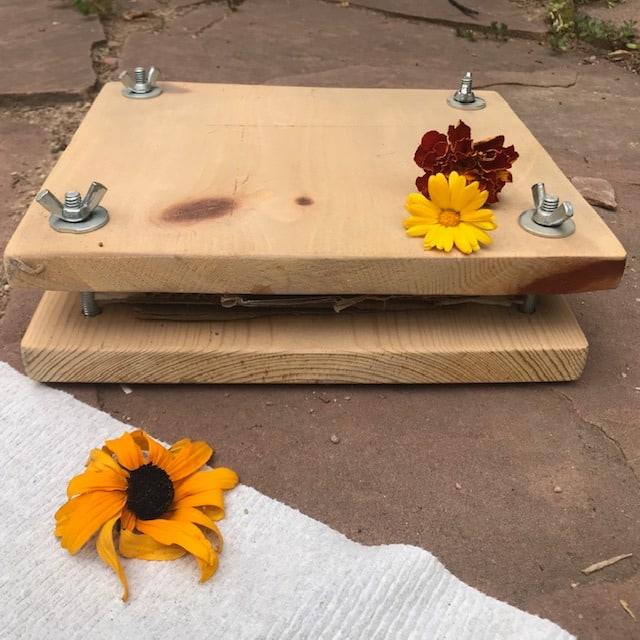
- Measure and cut two identical squares from the oak board.
- Stack the squares and clamp together on a piece of scrap wood. Use a pencil to mark a point 1″ in from the corner. Repeat for the remaining three corners. Using a 5/32″ drill bit, drill through both boards to ensure a precise fit for the bolts.
- Sand both boards. Decorate & let dry.
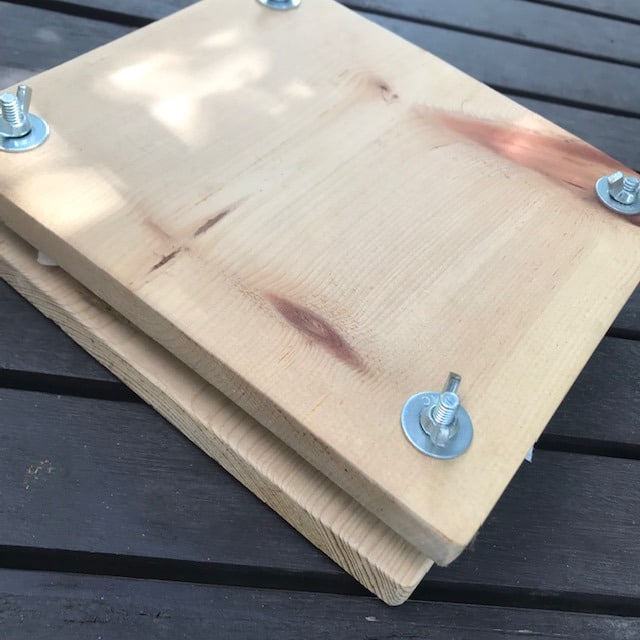
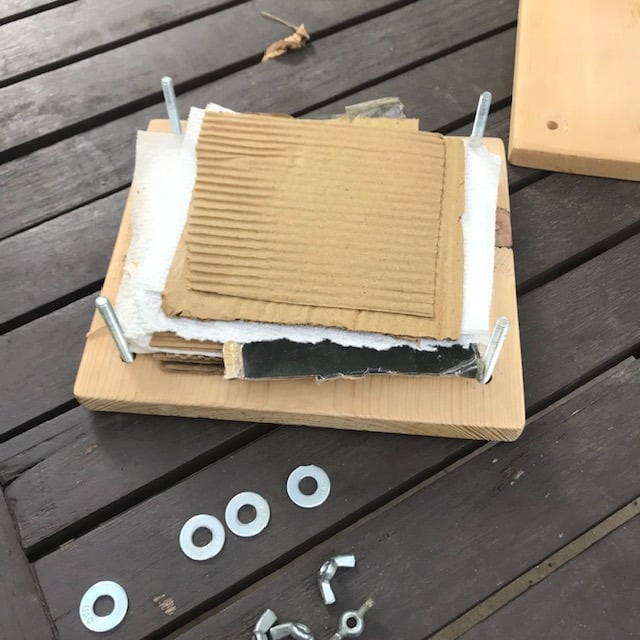
- Place washers on the bolts and slide the bolts up through the bottoms of both squares. Test the holes with the bolts – the top board should be easy to move up and down. If not, use the drill to widen the holes slightly on the upper board.
Now, you’re ready to press flowers.
Notes
We made a 7.5″ x 8.5″ flower press using a 1″ x 8″ board, but a larger 12″ x 12″ press would work well for pressing several flowers.
We never actually decorated our press. It’s on the “someday maybe” list. If you have a child who enjoys painting, you might want to decorate it by painting small flowers on the top or even by decoupaging dried flowers you have made in your press.
The press works fine un-decorated. But it’s a craft waiting to happen.
Good to Know
If the board you’re using has a slight cup from edge to edge (it’ll rock slightly from side to side on one face), arrange the two cut-to-size boards so the curve faces up on the bottom board and down on the top board. Tightening the four bolts will then add extra pressure to the center.
Shout Out
I based these instructions from a Lowes instructable we used back in 2015, which is no longer available on their website. I’ve updated the method based on what worked for us.
Using the press
Here comes the fun part. Using the DIY flower press!
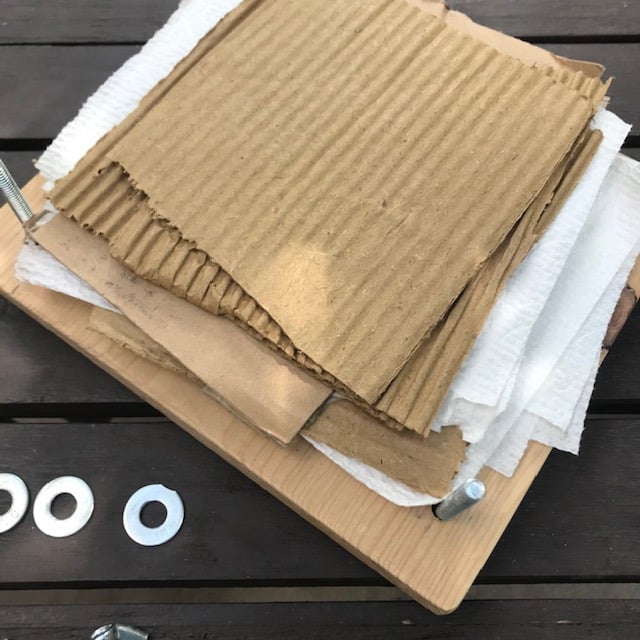
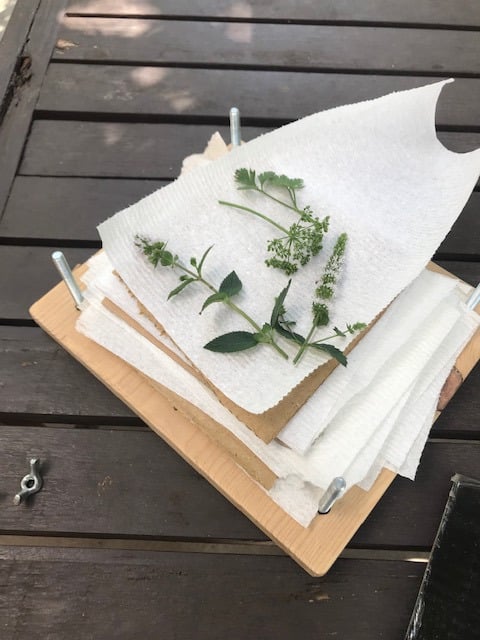
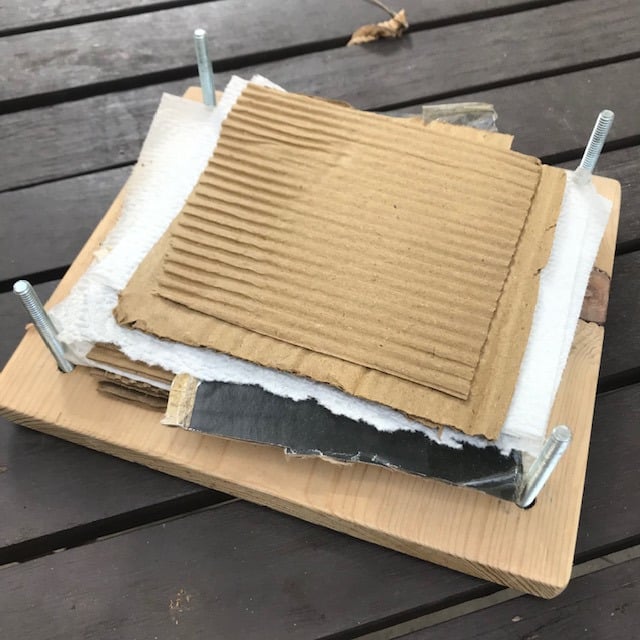
- Cut several cardboard squares to fit inside the width of the 4 bolts.
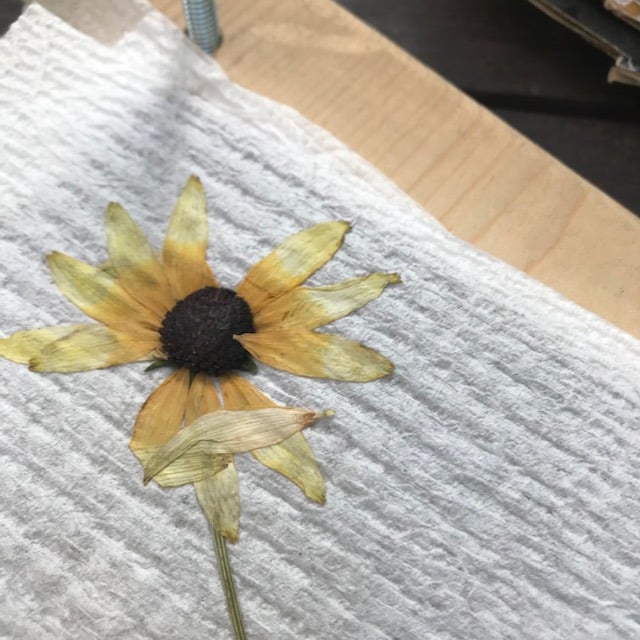
- Collect flower specimens.
- Open the press.
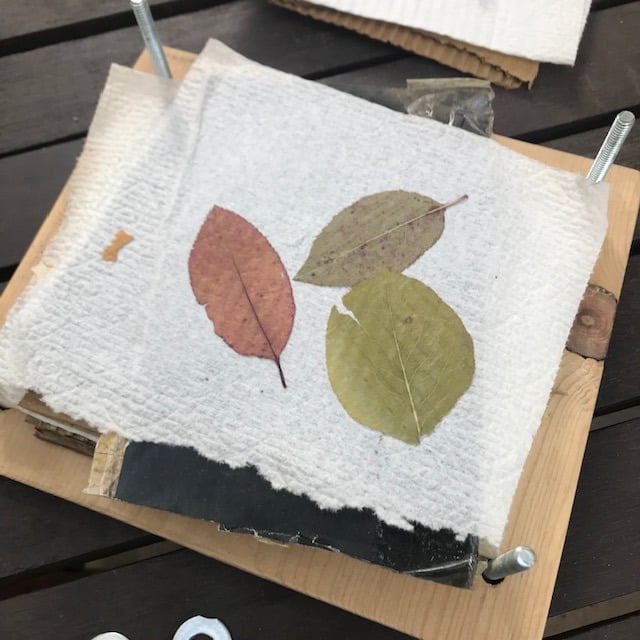
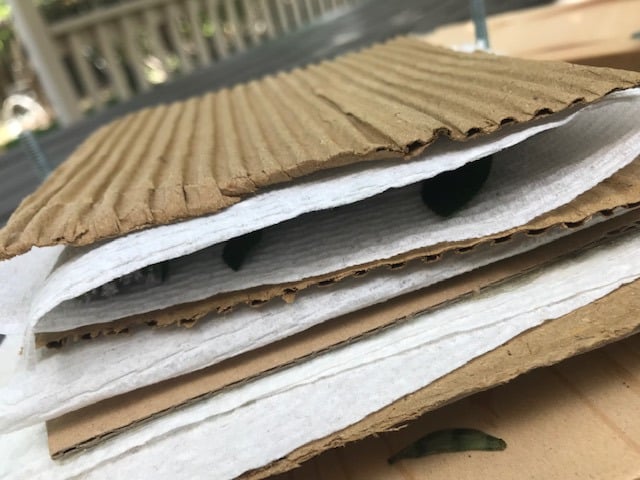
- Layer Cardboard, paper towel, flowers, paper towel, and cardboard. Note: You can make a “lasagna” of several cardboard layers by sandwiching flowers in paper towels. Be sure to make a single flower layer within the paper towel for the best drying results.
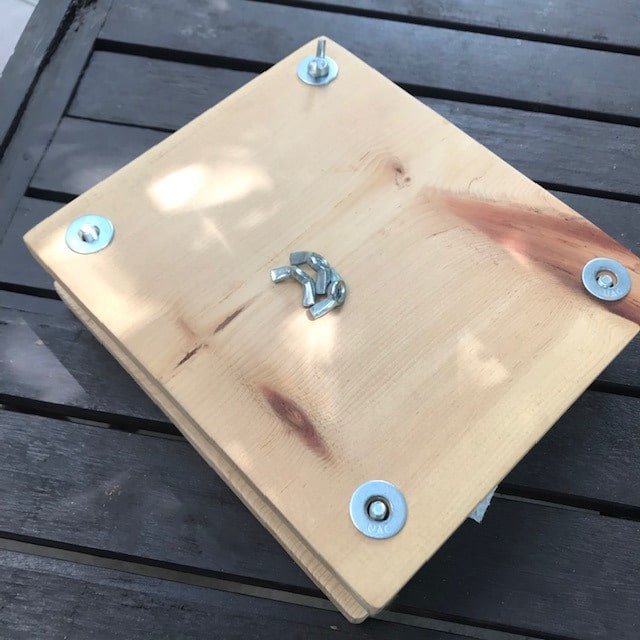
- Replace the top board of the press and tighten down.
- Wait a week before checking the dryness of the flowers.
Tips
- Some people say smaller flowers work best.
- Keep roughly the same thickness of flowers within each flower layer.
- Fat flowers will take longer to dry completely than thin flowers.
- If foraging, be sure you are permitted to take flowers from your location.
- When harvesting flowers, never harvest more than 1/3 of the plant.
- When opening the press, put the washers and wing nuts together in a dish or bowl so you don’t lose them,
- When closing the press, spin the wing nuts until they stop and then tighten by hand. Don’t over-tighten.
Uses of a flower press
Now that you have a working flower press, you can use it in your Charlotte Mason subjects like nature studies or handicraft.
For nature studies, a flower press is a wonderful tool to use for those objects you collect and want to preserve.
- You can dry them for documenting in your nature journal, either by painting a replica or by including directly into your journal.
- You can identify and label the botanical and common names if you know them.
- You can diagram out the parts of the flower you dried.
And for handicraft, you can use the flowers in making other handicrafts.
- You can use them in paper crafting for note cards or bookmarks.
- Learn to mount and frame them to give as gifts.
- You can use them as a model to paint onto thank you notes.
- Use the dried flowers in decoupage or resin projects like coasters.
Related posts
Keep Learning
- Nature Study Homeschool | Charlotte Mason Nature Study: Simple Ideas for Wildflowers
- At Home with Holly | Pressing Flowers as a Handicraft
- Little Pine Learners | 30+ Beautiful Pressed Flower Crafts