What’s inside: Teach kids how to dehydrate food in handicraft time. See how my co-operative Charlotte Mason (CM) homeschooling group got together to learn this valuable skill of food preservation. You can too!
Teach Kids How to dehydrate food
What is a Handicraft?
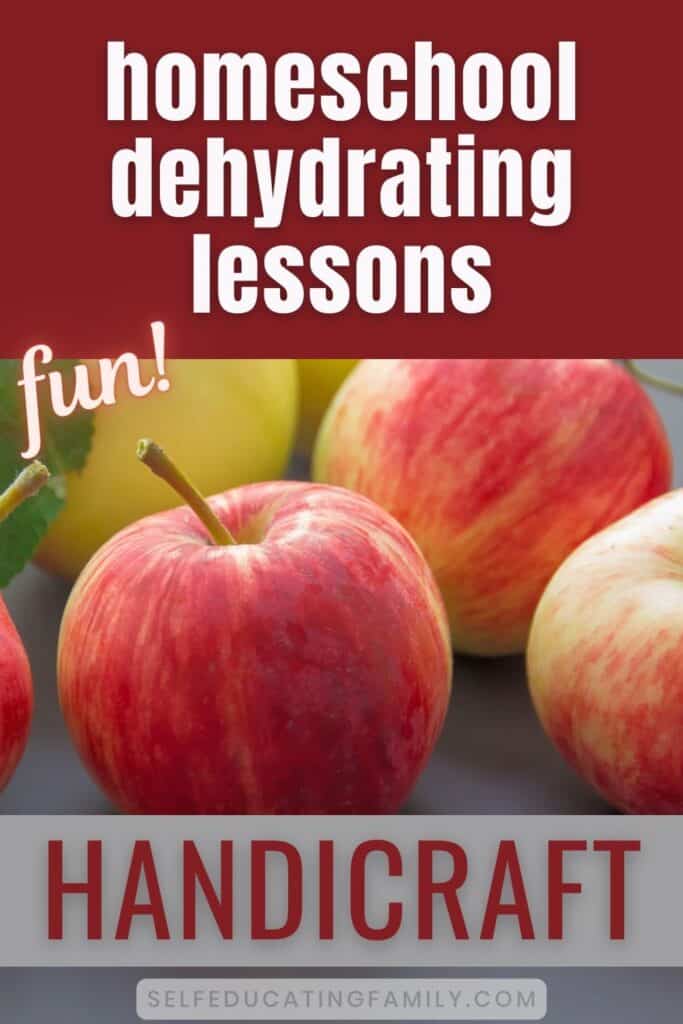
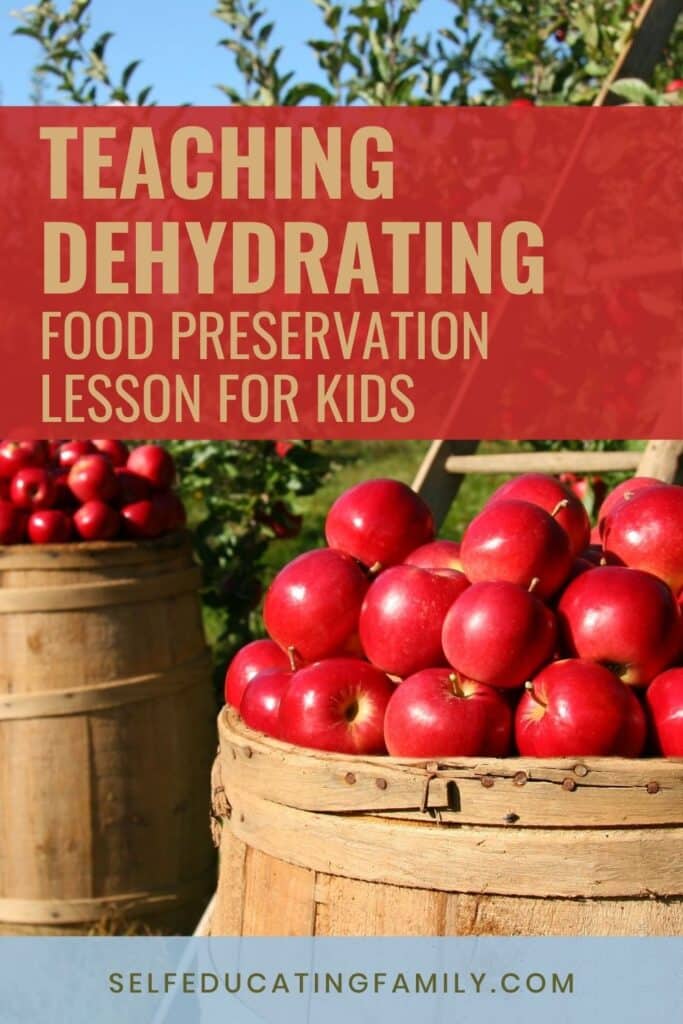
Today’s post will show you how you can teach kids how to dehydrate. My co-operative Charlotte Mason (CM) homeschooling group gets together regularly to learn practical life skills, also known as handicrafts. Dehydrating as a method of food preservation has been around for as long as there’s been food and the sun. A raisin is a simple dehydrated food. So is raspberry leaf tea.
Food preservation has been on my personal bucket list of things to learn because I feel like I belong to one of the first generations that did not learn things from their grandmothers—it’s one of those “lost arts”—like canning, drying, and fermenting. I took up dehydrating several years ago and thought it might be a useful skill to teach my CM group.
The goal of handicraft in Charlotte Mason studies is for the child to be exposed to many useful skills over the course of their schooling. Some skills will stick with each child, but you never know which ones. The child then is able to use some of their free time to craft something useful with their hands – hence the term “handicraft”. Handicraft, free reading of additional living books, and nature study were often among the afternoon’s focus after the short and varied lessons of the morning were completed.
Our group was anxious to get to it! Picture a dozen kids chopping vegetables and fruits with sharp knives and prepping recipes together in the same kitchen!
Note on Safety
We actually took Katie at Kitchen Stewardship’s Knife Class for kids. HIGHLY recommended. She’s got a wonderful way of “cutting” to the heart of the issue when teaching kids how to chop and cut effectively and safely.
So unless you know what you are doing, “Kids – don’t try this at home!”* Disclaimer: All injuries are your fault and you can’t sue me for anything.
How we set out to teach kids to dehydrate
Typically, our CM group studies one skill over an entire semester. In the middle of the semester on “Food Preservation,” the kids expressed interest in dehydrating – probably because I brought in some homemade fruit leather. Stomachs can highly motivate my group.
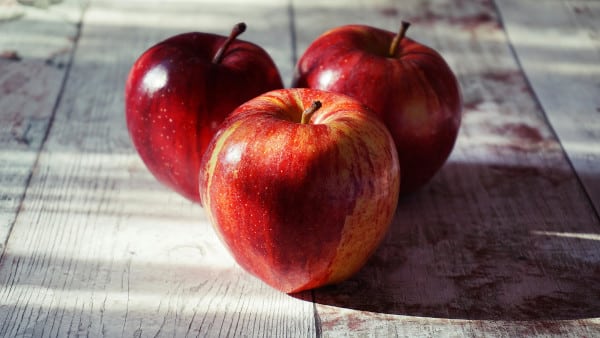
I personally use my dehydrator all the time – jerky, soaked and dried nuts, yogurt, apple rings, drying herbs. I wanted to introduce food preservation by dehydrating to my kiddos in our CM Handicraft co-operative. Dehydrating does not exactly have quick results, so to intrigue my class, I brought in some already completed dried apple rings, 🍍 dried pineapple 🍍, fruit leather, and homemade jerky.
3 recipes
Our plan for the day was to look at 3 dehydrating recipes:
- Dried Apple Rings
- Apple Fruit leather
- You could substitute any flavor fruit leather you would like by simply using that fruit puree or blend. We used plain apple leather made with applesauce to show how super easy it is to make.
- Homemade Food Coloring
You MUST bring made-ahead samples so your students can see and taste the finished product.
Our Plan
To teach the kids how to dehydrate, we planned to model our class like the old cooking shows – you know, where Sue Ann Nivens or Julia Child pops the raw turkey into the oven and seconds later, pulls out the fully roasted bird with all the trimmings. “Here kids! We chop up this butternut squash into flat slices, dehydrate for a day or two, then, poof! Look at how they turn out! We powderize it using our Cuisinart and Voila! Yellow food coloring, ready to mix into our white frosting.”
Here are the details. We planned for the class to:
- Sample already dehydrated apple rings
- Wash, core, slice & prep apples to make more rings to dehydrate
- Sample homemade fruit leather
- Prep trays for more fruit leather to dehydrate
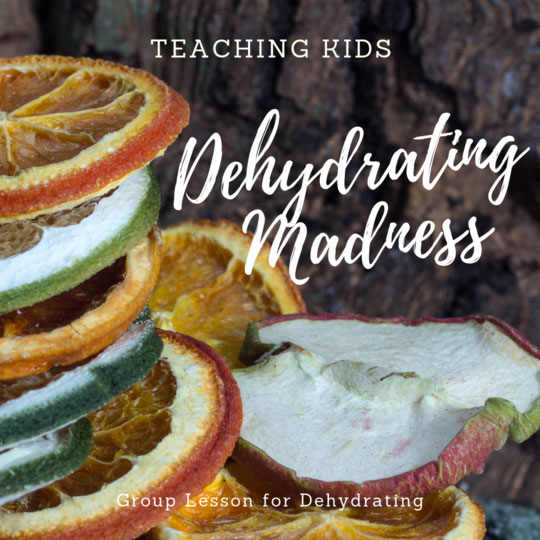
- View an assortment of vegetables that are used as natural food dyes at two stages:
- Dehydrated vegetable chips
- Powdered, dried vegetables
- Carrots (orange)
- Beets (red/pink)
- Butternut squash (yellow)
- We also brought turmeric to give a comparison on color and flavor of yellow food coloring
- We also brought powdered Cocoa for a chocolate dye
- Spinach (green)
- Powderize the dehydrated vegetable chips
- Wash, slice, and prep the vegetables to make more vege chips to dehydrate
- Frost cupcakes using powdered natural food colorings made in the dehydrator
Composition of Group
The group of kids that we were going to teach to dehydrate had about 16 kids ages 6 to 16, plus a couple of littler kids – toddlers and younger. For our dehydrating lesson, we split up into three groups of kids, each group making one of the recipes. Each group had 4-6 kids in it and 1 or 2 moms, supervising. The older teens were also helping out where needed. Each group rotated through the stations. The toddlers stayed near the cupcakes.
Preparation for class
After selecting our favorite dehydrating recipes, I started preparing for class ahead of time.
1 week ahead:
- Shop for vegetables and fruits as needed.
- Start dehydrating all sample recipes.
1 day before:
- Make a batch of cupcakes (enough for each student to have at least one.)
- My favorite “cupcake” recipes for children are usually nutrient-dense, high-protein muffins, accompanied by a white frosting with as little sugar as I can get away with, like cream cheese/whipped cream frosting. It’s about packaging – and a cupcake-shaped anything is usually a winner for little ones. Though I have to admit, my infamous “chicken muffins” were a complete flop, but that’s another story.
- We actually had 2 of the moms make cupcakes to spread out the preparations.
- Make frosting.
- Gather all equipment, supplies, and food to bring.
Bring to class
- Dehydrator
- Apple peeler/slicer/corer
- Cupcakes
- White frosting
- Apples
- 2 lemons
- Vegetables for dehydrating
- Cuisinart
- The powdered dyes of food coloring
- Carrots (orange)
- Beets (red/pink)
- Butternut squash (yellow)
- Turmeric (yellow)
- Cocoa (chocolate)
- Spinach (green)
Ask each student or family to bring:
- Aprons
- Cutting board
- Small paring knife
- Spreading spatulas
- Small mixing bowls
- Spoons
How the Class worked
Demonstrating How the Dehydrator works
Since our goal was to teach kids how to dehydrate, we spent some time at the beginning showing the kids the dehydrator trays and the controls. A dehydrator is a pretty straightforward machine – heater, fan, on/off temperature controller.
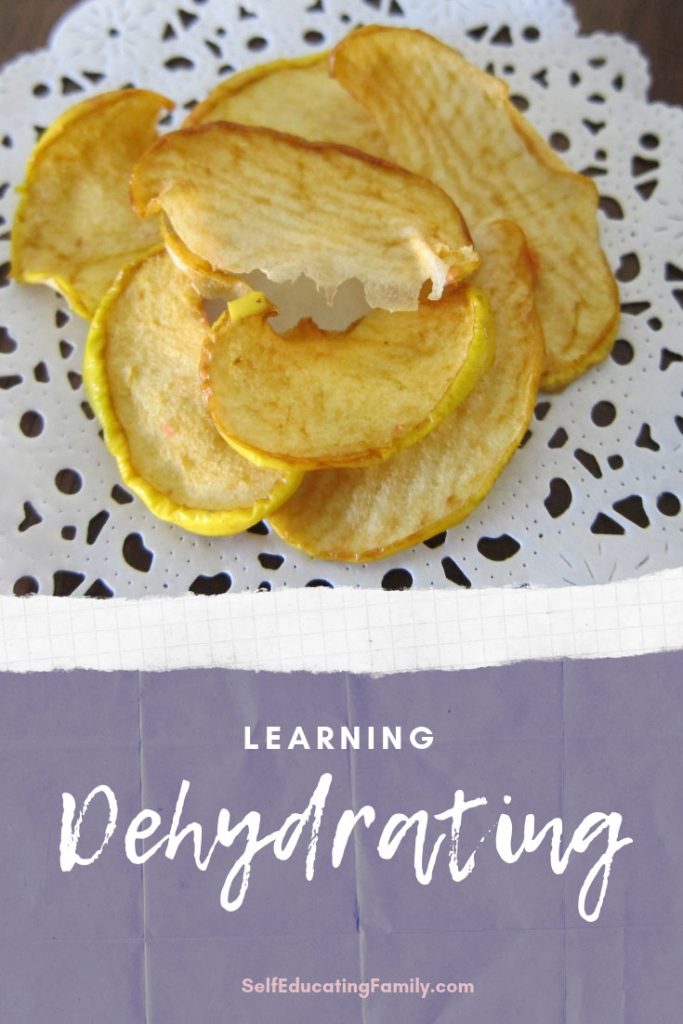
For Apple Rings
The apple ring group sampled the already dehydrated rings and some other dried fruit which they declared super-yummy.
When not sampling, the kids prepped the apples for dehydrating. The kiddos LOVED using the apple slicer/peeler/corer. ZIP! And rings are ready. Even the youngest kids (we had a 6-year-old working it under supervision) can zip through an apple in 30 seconds. Though our youngest took some extra time to eat the peels and finally relinquish the gadget to the next kiddo.
Apple Ring Area Setup
Set up the apple peeler/slicer/corer next to a pile of apples. Arrange the empty dehydrator trays so that they can be filled up. Fill a bowl with water and lemon juice. Have a bowl ready for composting the peels and cores.
Apple Ring Demo
Demonstrate one apple and stress the SHARPNESS of the cutting surfaces. Explain each step as you go.
- Impale an apple on the gadget and slice/peel/core it.
- Remove the apple from the gadget and place on the cutting board.
- Use a paring knife to slice down through one half of the apple – creating individual rings instead of one giant corkscrew of apple.
- Drop the whole apple with rings into the lemon water to prevent oxidation (browning).
- Place the apple rings on the dehydrator tray evenly in a single layer.
Note: You can fill each tray so that the rings are almost touching since they will shrink a tiny amount when drying.
A note on apple variety: The sweeter (like Gala or Fuji) non-pie apples work very well for flavor, though storage is probably not as long as storage apples. I wouldn’t know because even if I fill up an entire dehydrator, my family can eat these within a week or two.
Each child got to zip up an apple or two. Since that produced too many apples for dehydrating, we actually tossed the extra apples into a bowl with cinnamon and made some baked apples or apple crisp for everyone to take home. The kids who wanted to learn how to make an apple crisp worked on that after they frosted their cupcakes.
Get a Free 1-Page Printable for
Dehydrating Apple Rings
When you sign up for our newsletter, get this free resource!
We never spam!
SelfEducatingFamily.com needs the contact information you provide to us to contact you about our products and services. You may unsubscribe from these communications at anytime. See our privacy policy for terms and conditions and to learn how we protect your data.
Fruit Leather Area
To teach the kids how to dehydrate a simple treat like fruit leather, we let them know that the simplest Apple Fruit Leather can be made using applesauce and pouring it into a layer on a dehydrator silicon sheet or parchment paper. Sometimes, I will make fruit leather directly on parchment and then just roll up the parchment for convenient packaging when traveling with the leathers.
We demonstrated that to the kids while they ate the fruit leather samples.
Fruit Leather Demo
Set up the empty trays so they are accessible. Have your samples available. Have the applesauce ready.
- Open the applesauce.
- Pour it onto the sheet in an even layer about ¼ inch thick.
Pretty simple. For variety, we let them sample some other leather I had like peach leather, which I made from pureeing peaches.
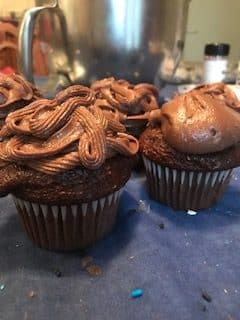
Natural Food Coloring Area (Frosting Cupcakes)
When I was preparing for class, I saved some dehydrated vegetable chips so the kids could powderize them in the Cuisinart to see how that worked. Again, all of this is under supervision – the co-op includes whole families, so moms come with their kids, and if anyone wasn’t already familiar with how to use a Cuisinart, we showed them and explained how sharp the blades were.
Cupcake Setup
Arrange a table with the unfrosted cupcakes, bowls, spatulas, spoons, and already powdered food colorings.
Powderizing setup
Have the dehydrated vegetable chips set out next to the Cuisinart. A stack of small bowls or yogurt containers is useful to put in the powders.
Chopping setup
Arrange a small area with the cutting boards, knives, and veges. We set up this area so the kids could have additional practice cutting with knives because of the knife class we took. We let them chop vegetables and then we took the veges home to use in dinners since the dehydrator was full.
Demonstrate Food Coloring
- Show the dehydrated chips, explaining each vegetable.
- Slice a carrot approximately ¼ inch thick and show how to arrange on the dehydrator tray.
- Explain the time it takes to dehydrate and the texture you look for when finished by showing a dehydrated carrot.
- Take a bunch of dehydrated chips and place in the Cuisinart with the chopping blade.
- Powderize the carrot.
- Take the carrot powder and mix it into a small amount of white frosting until you achieve the color desired.
- Explain why some people choose to make their own colors (allergies, preservatives, slipping in some veges in weird places).
- Tell the kids to decorate their cupcakes by making small amounts of colors in the tiny bowls or yogurt containers.
If you try this yourself, while the kids are mixing up colors, ask them about their observations. Our class noted that beets gave the most intense color, carrots had some flavor and it was hard to get a strong orange, but pale was ok. The turmeric unexpectedly had very little flavor but intense coloring – everyone liked it better than the butternut squash which gave a flavor. Cocoa, naturally, was a favorite. Spinach was not to be trusted by most of the kids.
Most of our kiddos spent the bulk of the time on the cupcake frosting, since it was the most instantly rewarding project. Even if they didn’t get to eat the cupcake until snack time, there is a certain satisfaction of making colors and creating an artistic masterpiece on a cupcake.
More Tips If you try this yourself
If you try to teach kids to dehydrate in a group lesson, be sure to split into groups if you have more than 5 people. In other words, if you have 6 people, it can be easier to split into 2 groups of 3. If you have 12 people, you might want 3 groups of 4. No one likes to wait for the apple peeler/slicer/corer!
Demonstrate everything, and then let the students try it. Be sure to use the students to help you set up and clean up.
And remember, as with woodcraft tools, emphasize safety around all the sharp things.
Our group had a blast dehydrating and learning to use natural food colors.