What’s Inside: Want some fun ideas for DIY Bookmarks using both Washi Tape and Paint Chip Samples? Get Step-by-Step instructions here. It’s a great handicraft for kids and for your homeschool, especially if you use a living books curriculum!
This post may contain affiliate links. If you find my content valuable and make a purchase through one of my links, I will earn a commission at no cost to you, which helps me keep this blog going so I can help you even more! I recommend products I trust and/or use myself, and all opinions I express are my own. Read the full disclaimer here.
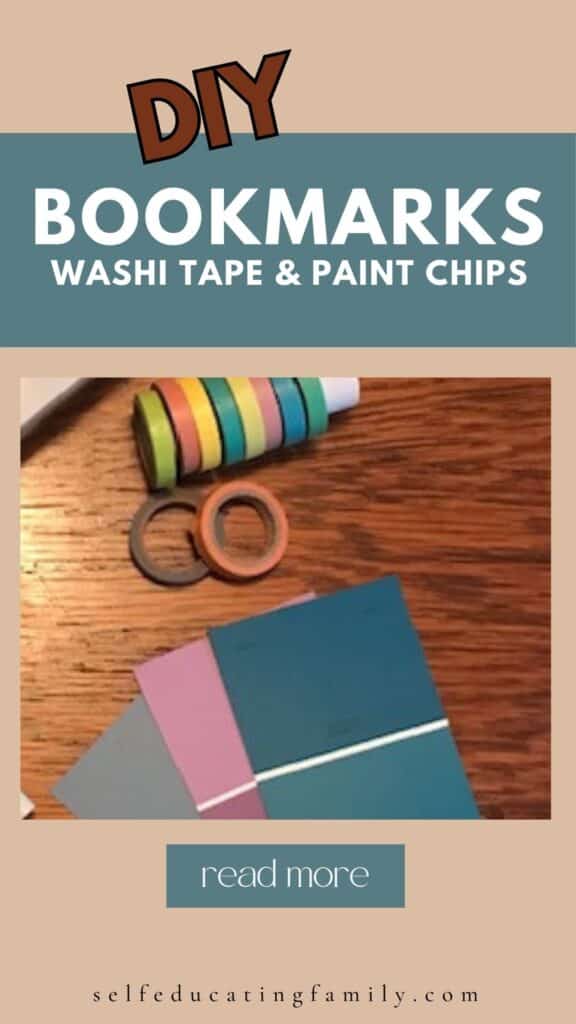
DIY Washi Tape Paint Chip Combo Bookmarks
When I was researching new ideas for making bookmarks, I came across some adorable ideas I wanted to try. Two of them were using washi tape and using paint chip samples.
So I combined them!
Here are the details for trying it yourself in your paper crafting handicraft.
Side note: Having lots of bookmarks is important when you use Charlotte Mason homeschooling methods with tons of living books! Reading a number of books at the same time requires a number of bookmarks. And they wear out, so it’s nice to get some new ones.
I like to make new bookmarks for a new school year.
And I also give them as gifts to commemorate celebrations or important family gatherings.
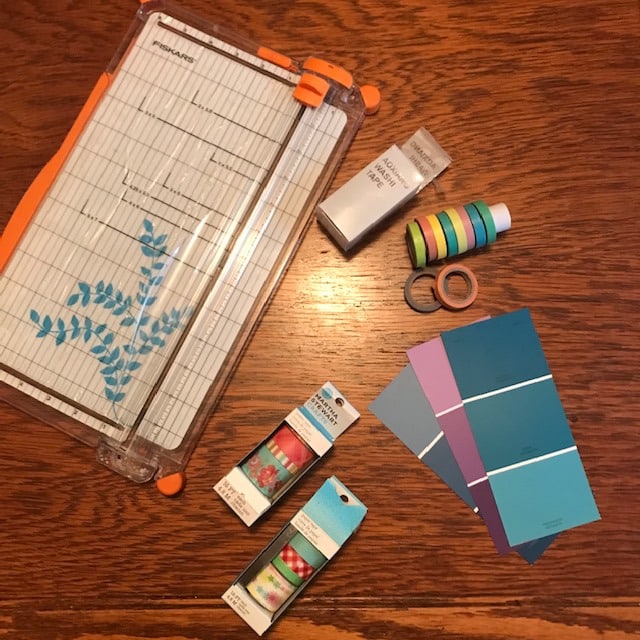
Step 1: Gather materials and tools
Materials
- Washi Tape
- Paint Chip Samples
- Glue sticks (optional)
- Ribbon or string
Notes on my materials
I never really used washi tape before. It’s colorful paper tape designed for paper crafting. It gives you clean edges on strips of tape and it usually comes in coordinated colors and patterns.
I had given my mom a set of washi tapes which I thought she might like to try. She graciously re-gifted it back to me, so I had a bunch on hand that I hadn’t used before.
And the paint chip samples? I’m always at the big box stores getting paint chip color samples for various projects that I am working on, but it feels so wasteful to just throw them out after you make your selection. So this is a great way to re-use & upcycle into beautiful useful handicrafts!
Tools
- Scissors
- Paper cutter (like this)
- Hole punch
- Laminator (optional)
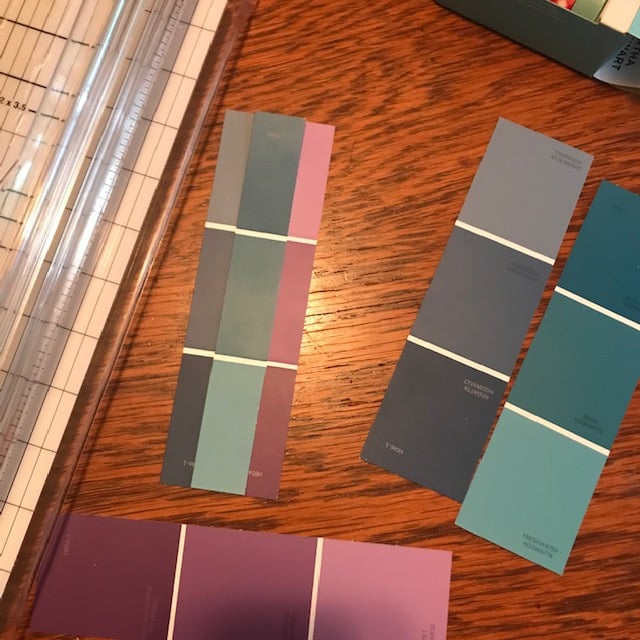
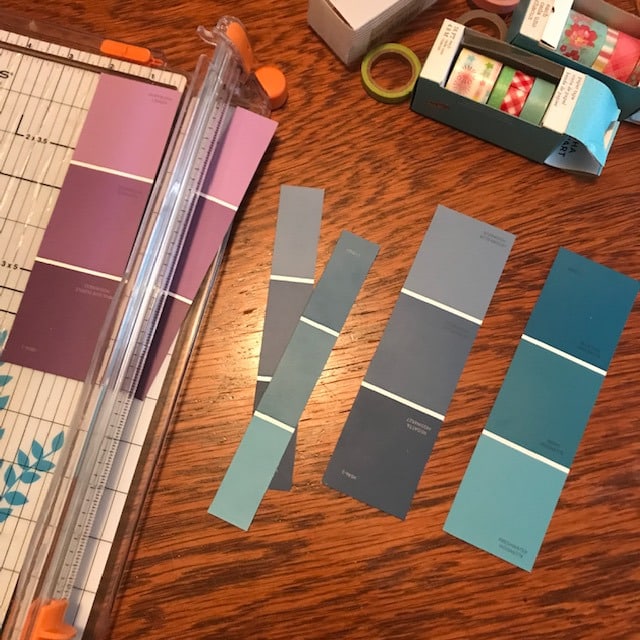
Step 2: Cut your paint chip samples to bookmark size
This is an optional step – You only need to do this if the paint chip sample is too large.
Which mine were.
I cut mine to a standard 2” wide bookmark width. That left me with 3 thinner slices of the paint chip sample which I decided to overlap and glue together to make a 4th bookmark.
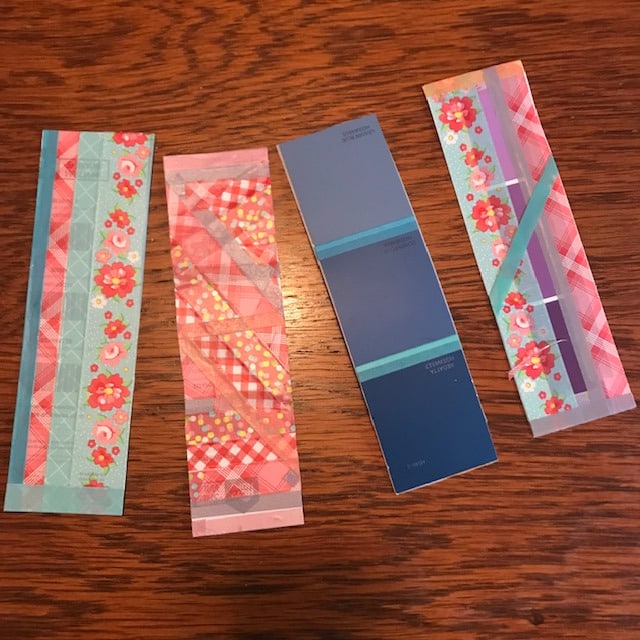
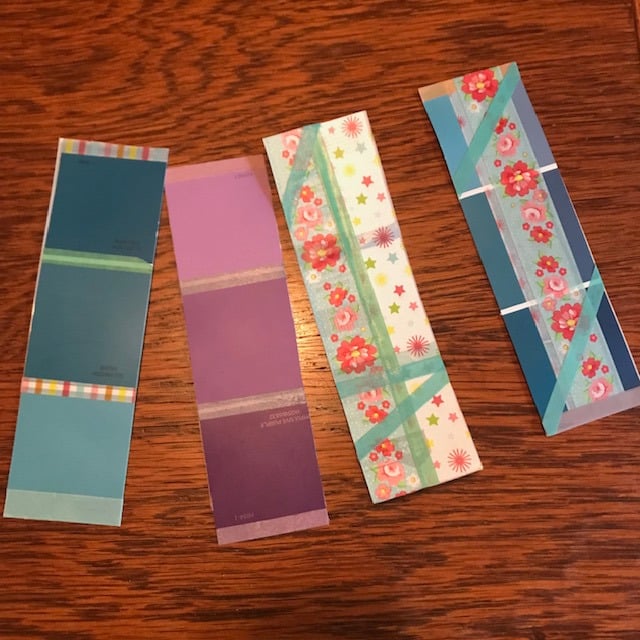
Step 3: Washi Tape like Crazy
Get those washi tape rolls out and start taping. Then cutting at the edges. Then overlapping more tape.
Try to coordinate your colors.
I lucked out and my paint chip samples seemed to match beautifully with my washi tapes. I had a box of very thin solid colors and 2 boxes of coordinated patterns of various widths.
After I worked the front sides simply and conservatively, I decided to tape all over the back sides (which were a boring information side – black & white with words and no color.
The washi tapes were mostly semi-transparent – or translucent? You could sometimes see through the tape a bit to see the underside. It made for a nice effect.
Overlapping the tape to the other side is also fun.
Tip: If you don’t like how it is turning out, keep taping. I thought mine were horrible at first, but I loved how they turned out.
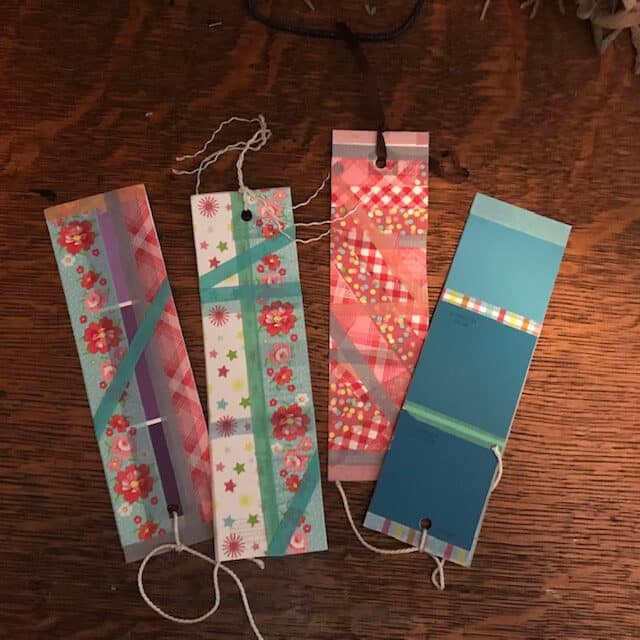
Step 4: Finishing
Take the final touches to finish up your bookmark.
- Trim where needed on the edges.
- Hole punch at the top
- Laminate if desired to lengthen the time the bookmark will be in service. (Hole punch again!)
- Put a ribbon through the hole and knot.
Give as gifts or keep to use
I’m going to give my mom one because she loves getting colorful bookmarks. That leaves me 3 to keep or give away to my favorite book lovers!
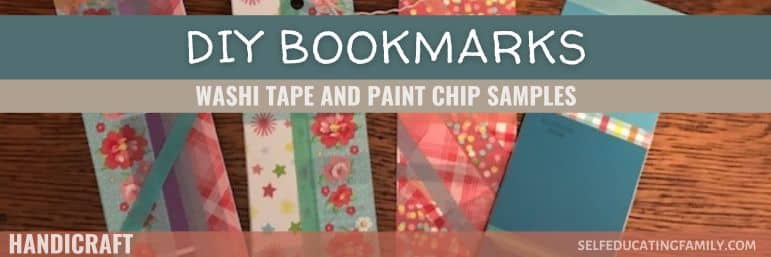
Washi Tape Paint Chip Bookmarks
Directions
- Gather supplies.
- Cut paint chip samples to desired bookmark size.
- Decorate with washi tape.
- Punch Hole and tie on ribbon.