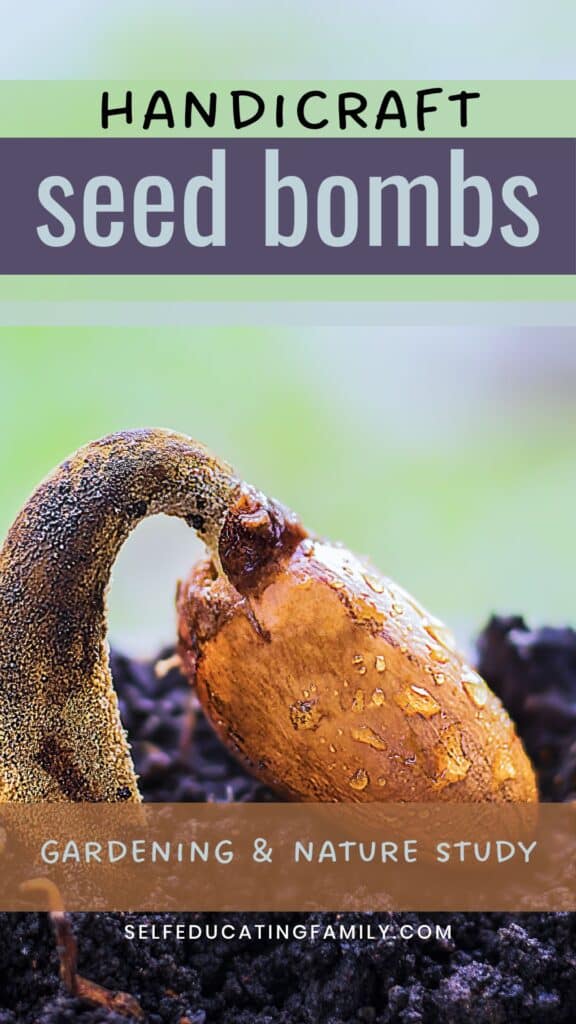
What’s Inside: What is a Seed Ball? Find out what they are, how to make them, and how to use them.
This post may contain affiliate links. If you find my content valuable and make a purchase through one of my links, I will earn a commission at no cost to you, which helps me keep this blog going so I can help you even more! I recommend products I trust and/or use myself, and all opinions I express are my own. Read the full disclaimer here.
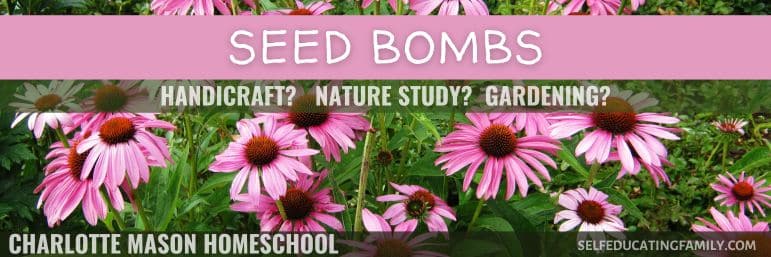
Fukuoka Seed Balls
a.k.a. “Earth Dumplings”
Have you ever heard of Seed balls? or Seed Bombs? or Earth Dumplings? These are names for a small ball made of clay, compost and seeds that you use to plant seeds. It’s a type of no-till farming.
What Exactly is it?
I’ve seen earth balls at seed exchange events and always wanted to try to make them. First I wanted to know the story. Who came up with these and why?
Masanobu Fukuoka (1913-2008) was a Japanese farmer who wrote The One-Straw Revolution, The Natural Way of Farming, and Sowing Seeds in the Desert. He was an advocate of using natural methods without chemical fertilizers to revolutionize agricultural practices.
What we call “seed bombs” were clay pellets containing seeds that Fukuoka would toss into wasteland areas to reduce desertification. He tried to balance nature in areas where human interaction had clearly allowed desertification to encroach on the land. He used a wide variety of seeds because nature is diverse.
Today’s Seed Bombs
Permaculture enthusiasts and sometimes guerilla farmers like to use seed bombs as an easy way to diversify areas that are lacking vegetation. You don’t have to bury the seed balls. The balls sit on the ground until they get enough water to break down the clay. So they can be especially useful in desertified areas. The seeds are safe from birds and just wait until the conditions are right to sprout.
How to make a seed ball
Most of the “recipes” I saw for seed balls called for “dry” powdered clay. The recipes call for 1/3 compost, 1/3 clay, 1/3 seeds.
Here is the best tip from the permaculture people:
- Seeds can be a mixture of seeds, but in general, seeds of around the same size and germination time work best together.
Great activity
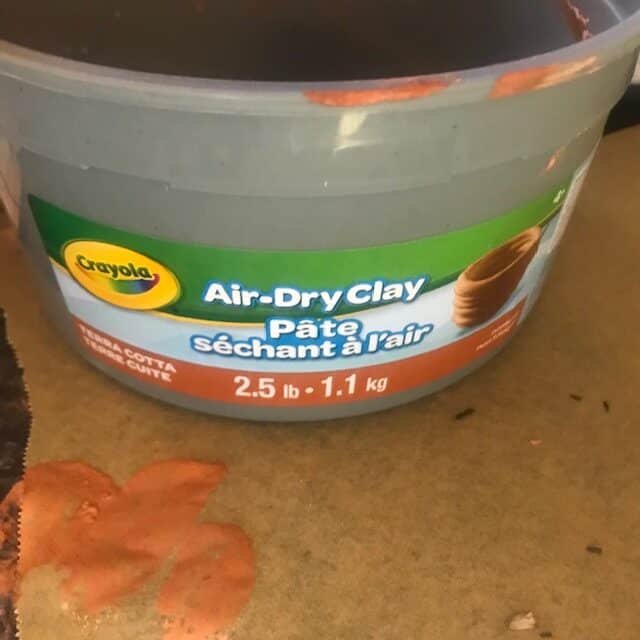
So I have wanted to try this, but I couldn’t find dry clay. Instead, I got a tub of terra cotta clay from the craft store. They say you can use any kind of clay, and in my experience, it worked well.
I had a hunch I could even dig up clay in my backyard because I have very clay soils. But I was combining this activity with a goal in mind: I wanted to make party favors for a wedding reception. I had seen cute “let love grow” type of favors relating to growing things and thought it would work well.
Finding seeds
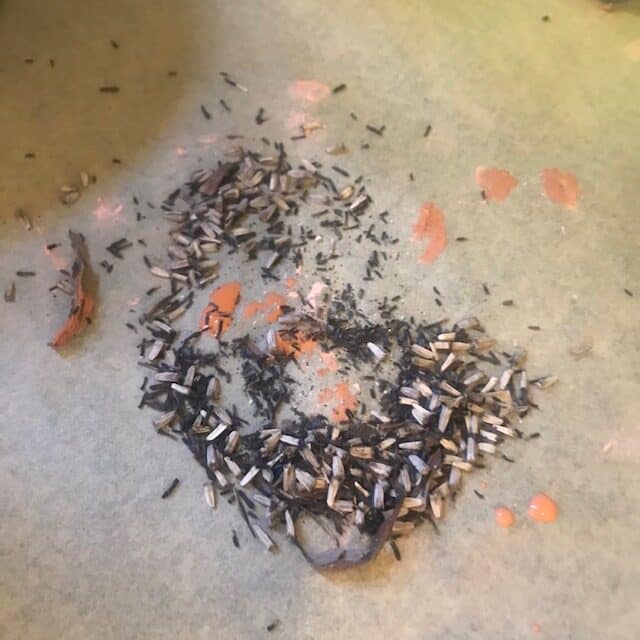
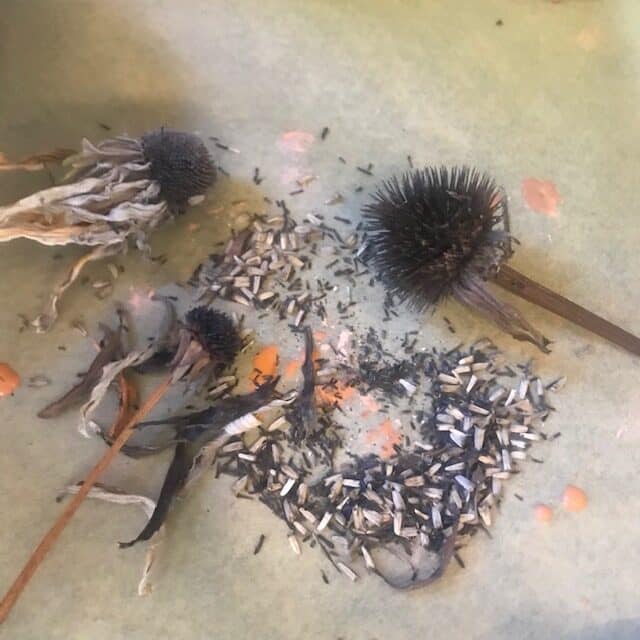
I had no trouble finding seeds! I have some great patches of Echinacea and Black-eyed Susan — they make tremendous amounts of seeds. They are both very drought tolerant and tough plants, so I thought they would make a good combination.
I just gathered a bunch of seed heads this fall from the spent flowers that I had. The seed heads do have to be nice and dry. You have to get them before the birds eat all the seeds, but after the plant is done for the season. It’s just like collecting seeds for next season.
I put the seed heads in a paper bag and shook it like crazy. All the seeds fall out of the seed head. Simply separate out the seeds from the seed heads and you will have a nice pile of seeds like I did.
Mixing up the balls
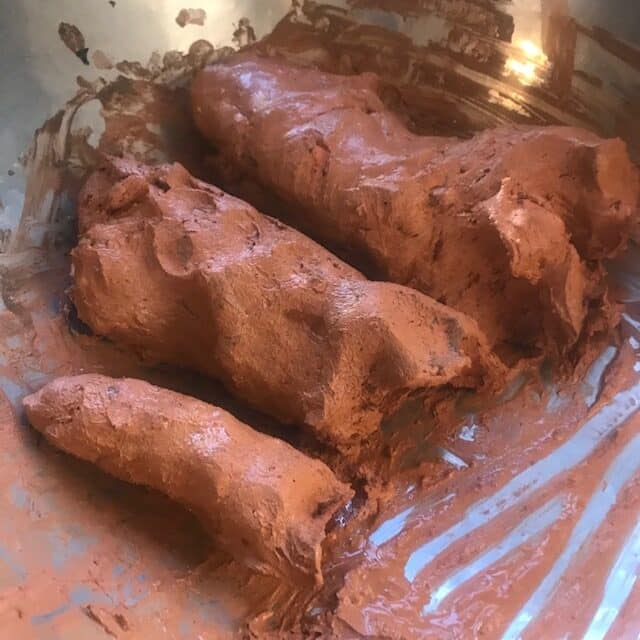
It was surprisingly easy to mix the compost into the clay. Even though the clay was wet, by adding a bit more water to it, you get a very pliable clay that I massaged with the compost. It soon became a workable blob. I used the entire tub of clay and hoped it would make enough seed balls. (It did!)
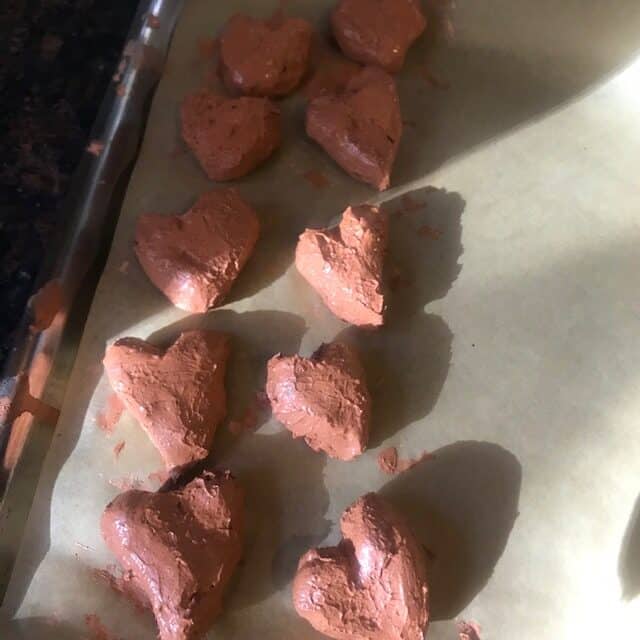
Then I divided up the clay into even logs, and broke off small blobs, evenly sized. Sort of like using cookie dough. (But don’t eat these!)
When I had a small blob, I squished it, then touched it to my pile of seeds. I could even touch my goopy, clay fingers to the seeds and a small amount will stick. I put those seeds on an empty clay blob and then tucked the seeds inside.
Since I was making wedding favors, I shaped them like little hearts. Some of them looked cute like Valentine’s candy, and others looked more like an anatomically correct heart. But I went with it!
Warning advice!
This is a messy craft. I worked inside on cardboard to protect my table surface. I used parchment to place the balls while they were drying. But still, I feel like there was clay everywhere. Outside would be essential if you are working with kids.
It does make a fantastic handicraft that combines nature study and gardening with it.
Final touches
Since this was for a party favor, after my seed balls were thoroughly dried, I stuck one or two in an organza bag with a cute label and instructions on it along with the wedding reception date.
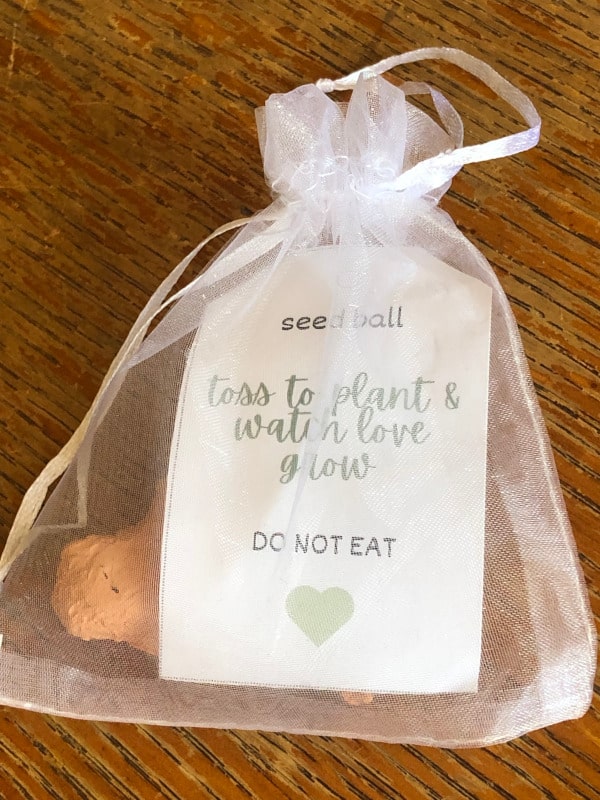
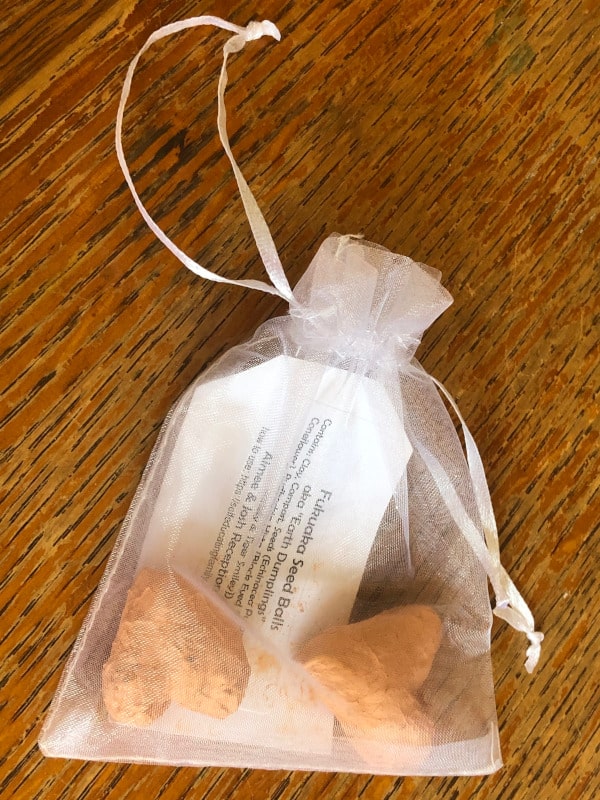
I also made clear “ingredients list” on the back of the tag to make sure everyone understood what kind of seeds were in there. Incidentally, I modified my gift tags available in the Free Library to say what I wanted and then printed on cardstock.
They turned out great.
I forgot to save one for myself, but I have asked a few people to let me know if they worked. We won’t exactly know right away. But if I hear anything, I will let you know!