What’s inside: The DIY Himalayan Salt Lamp is a fun craft to during handicraft time. Suitable for older students on their own or younger with supervision. Skills required are engineering, working with electricity, shopping, procurement of online materials, and some artistic sense of arrangement.
This post may contain affiliate links. If you find my content valuable and make a purchase through one of my links, I will earn a commission at no cost to you, which helps me keep this blog going so I can help you even more! I recommend products I trust and/or use myself, and all opinions I express are my own. Read the full disclaimer here.
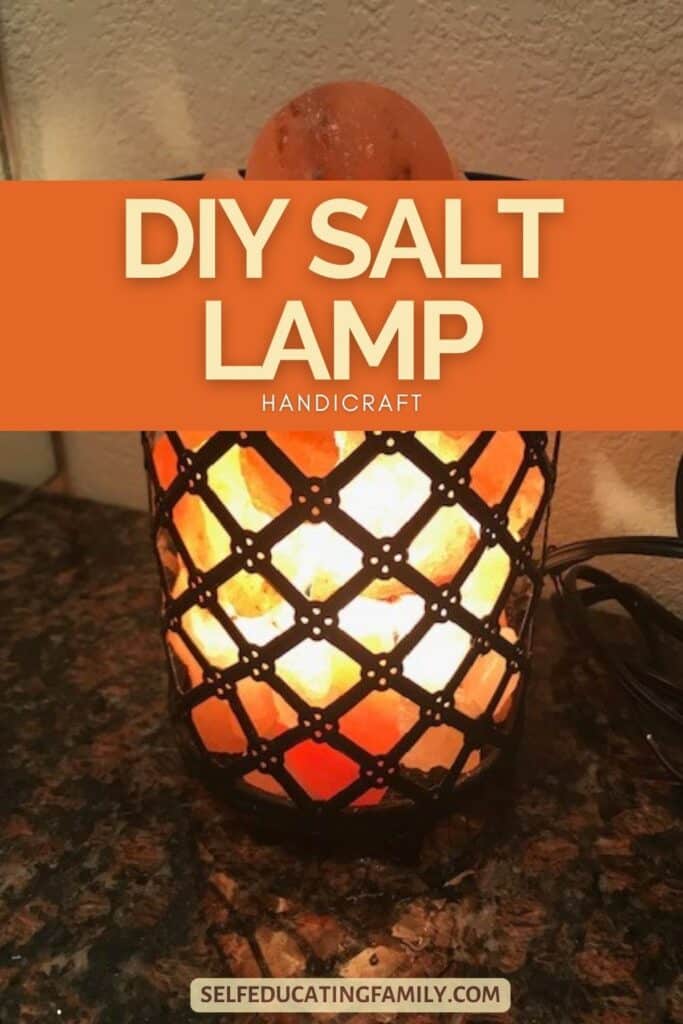
The DIY Himalayan Salt Lamp
You may have seen them: the soft glowing pink-orange lump of salt.
But did you know you can make your own?
Inspiration from this post comes from a wonderful artist of Himalayan Salt Therapy Lamps, Linda Mae at My Boco Home. (Please Note: her site is a little risque – Shakespeare would have approved.)
I saw Linda Mae at a health summit where she had a workshop on the benefits of Salt Therapy Lamps. And she had her beautiful lamps on display. She really is an artist.
She convinced me that I need several lamps, but being such a devoted DIYer, I wanted to try to make some myself. Even if I don’t actually metal work the lantern itself.
It really is a fun project for those who enjoy making beautiful things by hand. However, I’m going to show you a shortcut in place of metal working. If you have already done metalworking as a handicraft and you have the skills, by all means, hammer out a lantern! This post will show you what you need to do to make it into a Salt Lamp.
What is a Salt Lamp?
A Salt Lamp is made of 2 parts: Salt and a light source.
Salt
The standard Salt Lamp uses a blocky chunk of Himalayan Salt with carved hole inside to put a light inside it.
Salt is a mineral (NaCl) that comes from “rock salt” also known as halite. It can look just like a rock, but technically it is a mineral.
For our purposes, we don’t really care, but I can’t help throwing in some science as we go along.
Himalayan Salt is the pink salt that typically comes from (you guessed it) the Himalayas. Specifically, the Punjab region of Pakistan. That was the geography lesson. Another interesting fact, the Great Salt Lake in Utah, USA also has pink salt deposits, but they aren’t called “Himalayan” because, well, Utah is not in the Himalayas.
Salt lamps ALSO are made from chunks of Himalayan salt placed in a metal lantern. You still need a light source.
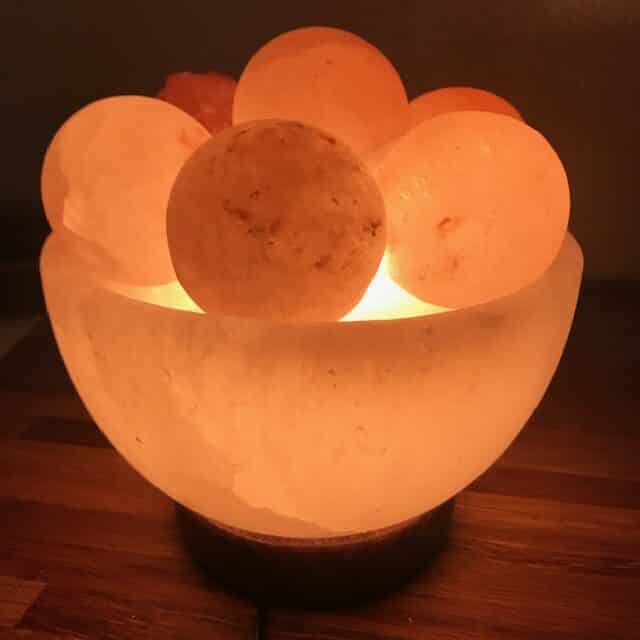
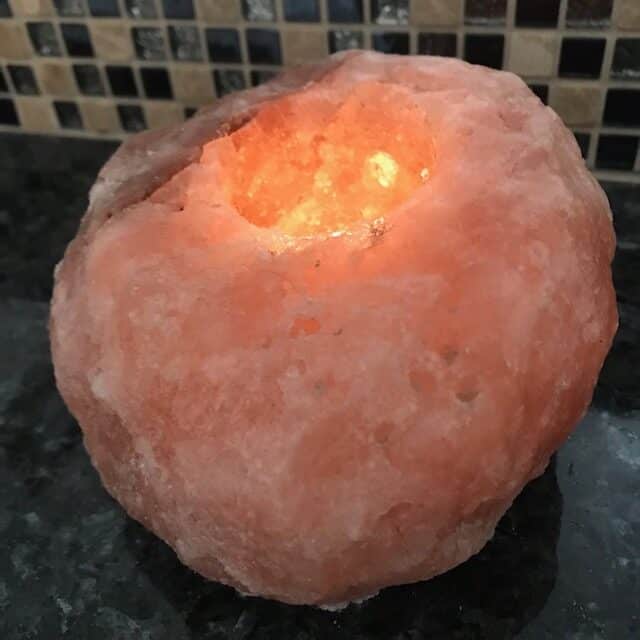
And finally, salt lamps can be made of polished and shaped Himalayan salt. For instance I own (did not make) a bowl shaped lamp with 6 round massage balls on top. The bowl is carved and polished out of salt. It has a light inside. I keep it next to my desk.
Light Source
The key to the Himalayan Salt Lamp is the light bulb. You need a 25W incandescent light bulb. LED lights don’t give enough heat to produce a therapeutic effect. Even a candle might be questionable.
And before anyone goes “save the environment” on me with the recommendation of an incandescent bulb, I will refer you to the work of Paul Wheaton, the Duke of Permaculture, who outlines how to save the world by starting with your own backyard in his book Building a Better World in Your Backyard: Instead of Being Angry at Bad Guys (also on Amazon). He shows how incandescent is a much more environmentally conscious way to illuminate.
But I’ll let you make your own decision.
Nevertheless, you need to heat to make the salt lamp work in a healthy beneficial way. Less than 25W won’t cut it either, unless it is a small lamp. Very large lamps will need a hefty 40W bulb.
I’m working with medium sized so I opted for 25W bulbs.
How does it work?
Salt attracts water (moisture) to the surface of the salt. When the salt is heated, the moisture evaporates and it releases negative ions – like an ionizing air filter does. The negative ions attract (another “you guessed it moment”) POSITIVE ions. Positive ions in the air of your home include pollutants like pollen, dander, and dust, as well as toxins from chemicals, electronic devices, bad odors, and more.
For a “light” read on the positive affect of negative ions on air quality, Pub Med has some good research. Understand that they are looking at ionizers in general, not specifically these kinds of lamps.
Salt lamps are good at ionizing the air, but they have limited range. Probably about 4’ radius. In order to completely ionize your home with them, you’d need them placed every 4 feet. But they work well in small areas like bathrooms, desks, or nightstands. The light has to be on to work.
How I made one (or two!)
So my idea was to DIY a lamp or two.
Materials purchased:
- Chunks of salt: 10 lb bag from Amazon for $17.95 (I don’t understand how the price went up 23% in 3 weeks. Maybe there’s been a run on chunks of salt!)
- Light cord assemblies with base lamp fixture and light bulbs (Amazon, but you can get smaller amounts at your local True Value). I got 3 bases and 8 bulbs for $24.98.
- Salt Massage Spheres (optional: 10 pack for $33.60)
By the way, if you wanted to make this craft more towards the “learning electricity” type of advanced project for older students, you could make the wiring assemblies yourself.
I have made 2 lanterns so far and still have enough materials for 1 more. Then I’ll have to buy another lamp cord assembly.
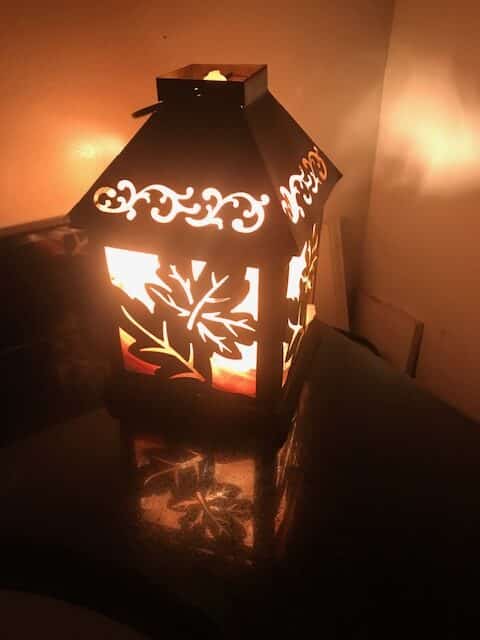
I also went shopping at the thrift store for items – particularly lanterns or something that could be made into lanterns. You need a metal cylinder about 4” across and 6” high. I found one that was a bit bigger, but it came with a wire mesh bottom and feet. Cutting through the mesh with wire cutters was easy. I also found a lantern shaped metal candle holder for tea lights. The hole in the bottom was perfect for inserting the lamp base, but it was a bit harder to arrange the salt chunks.
With the thrift store items, my cost per lamp is under $20.
Process
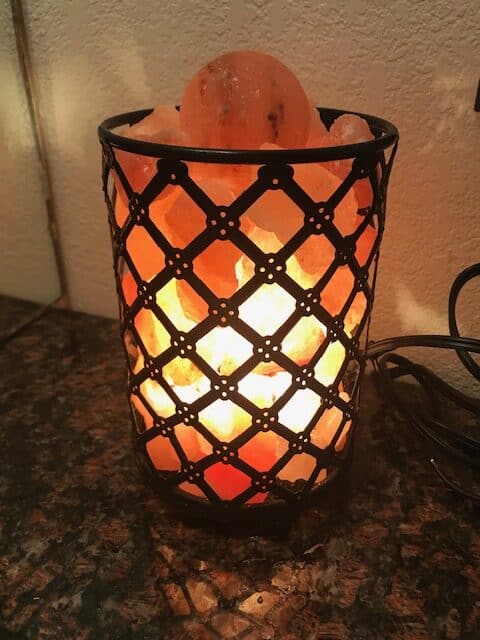
Making the first lantern was straightforward. For a cylinder-shaped salt lamp:
- Cut a hole in the bottom of the cylinder just the right size for the lamp base. The base has a spring clip that opens up a little after it is in place, so it doesn’t need much to hold it there if the hole is snug.
- Snug in the lamp base with a light bulb in it.
- Carefully arrange the salt chunks around the lamp base and light bulb. Think of it as a jigsaw puzzle – you don’t want the salt to be loose if you gently shook the lamp when you finish.
- Build the salt chunk tower over the top of the light bulb. I placed mine so that it made a little cavern for the light bulb to sit in – imagine taking out the lamp assembly to change the bulb and not having the salt move or cave in.
- Continue the salt chunk tower until you reach the top of the cylinder.
- Optional: Place a massage sphere on the top.
Why the massage sphere?
The theory on massage with salt balls is that your body also has positive ions that cause breakdown of cell tissue and inflammation. The physical massage with the ball not only relieves tension, but also helps draw out positive ions and thus reduce inflammation.
It works through clothing (in theory) but skin contact can be more beneficial. The salt is naturally anti-microbial and the balls don’t need to be cleaned or washed. In fact, please don’t wash your salt.
Caveat here: I did have to wash my Himalayan salt candle tea light holder, because I neglected it for a few years and it was covered in sticky dust. A quick wash got rid of the yuck, and it dried nicely. But water will wash away the salt over time.
Bringing home the Spa!
Anyway, I wanted to “bring the spa experience” to my home so I picked up a pack of the massage balls.
When I walk past my lamp, I give a quick relaxation roll on any area that is sore. And I also use the massage balls in my (purchased) lamp that sits next to my desk. Usually, I roll a ball around on my stiff shoulders to relax them if I work at the computer.
I purchased the lamp with the massage balls in addition to making one because I wanted to see one in action up close and I liked the look of all those massage balls. I felt this particular lamp needed the balls to be tighter, so I squeezed in an extra salt chunk to help the balls stay in place. But I was a bit disappointed because the light bulb blew out after only 2 weeks of continuous use. I put in a new light bulb which is rated at 2000 hours, so I’m hoping it lasts longer.
Conclusion
This was a fun craft to make and we’ll be making more of these once I locate some more suitable containers. You can easily add this to your handicraft. It will work well for the motivated older student or if you are interested in making your homeschool area more “hygge”.